
It’s even easier than you could imagine!
In Blogger, you have 2 opportunities – to add a countdown timer on a Post and as a Widget.
Firstly, let’s see how you add the countdown timer as a gadget.
1. Go to Countdown Timer Builder and copy the embedded code of the countdown timer. In case you haven’t set one yet, go and do this.
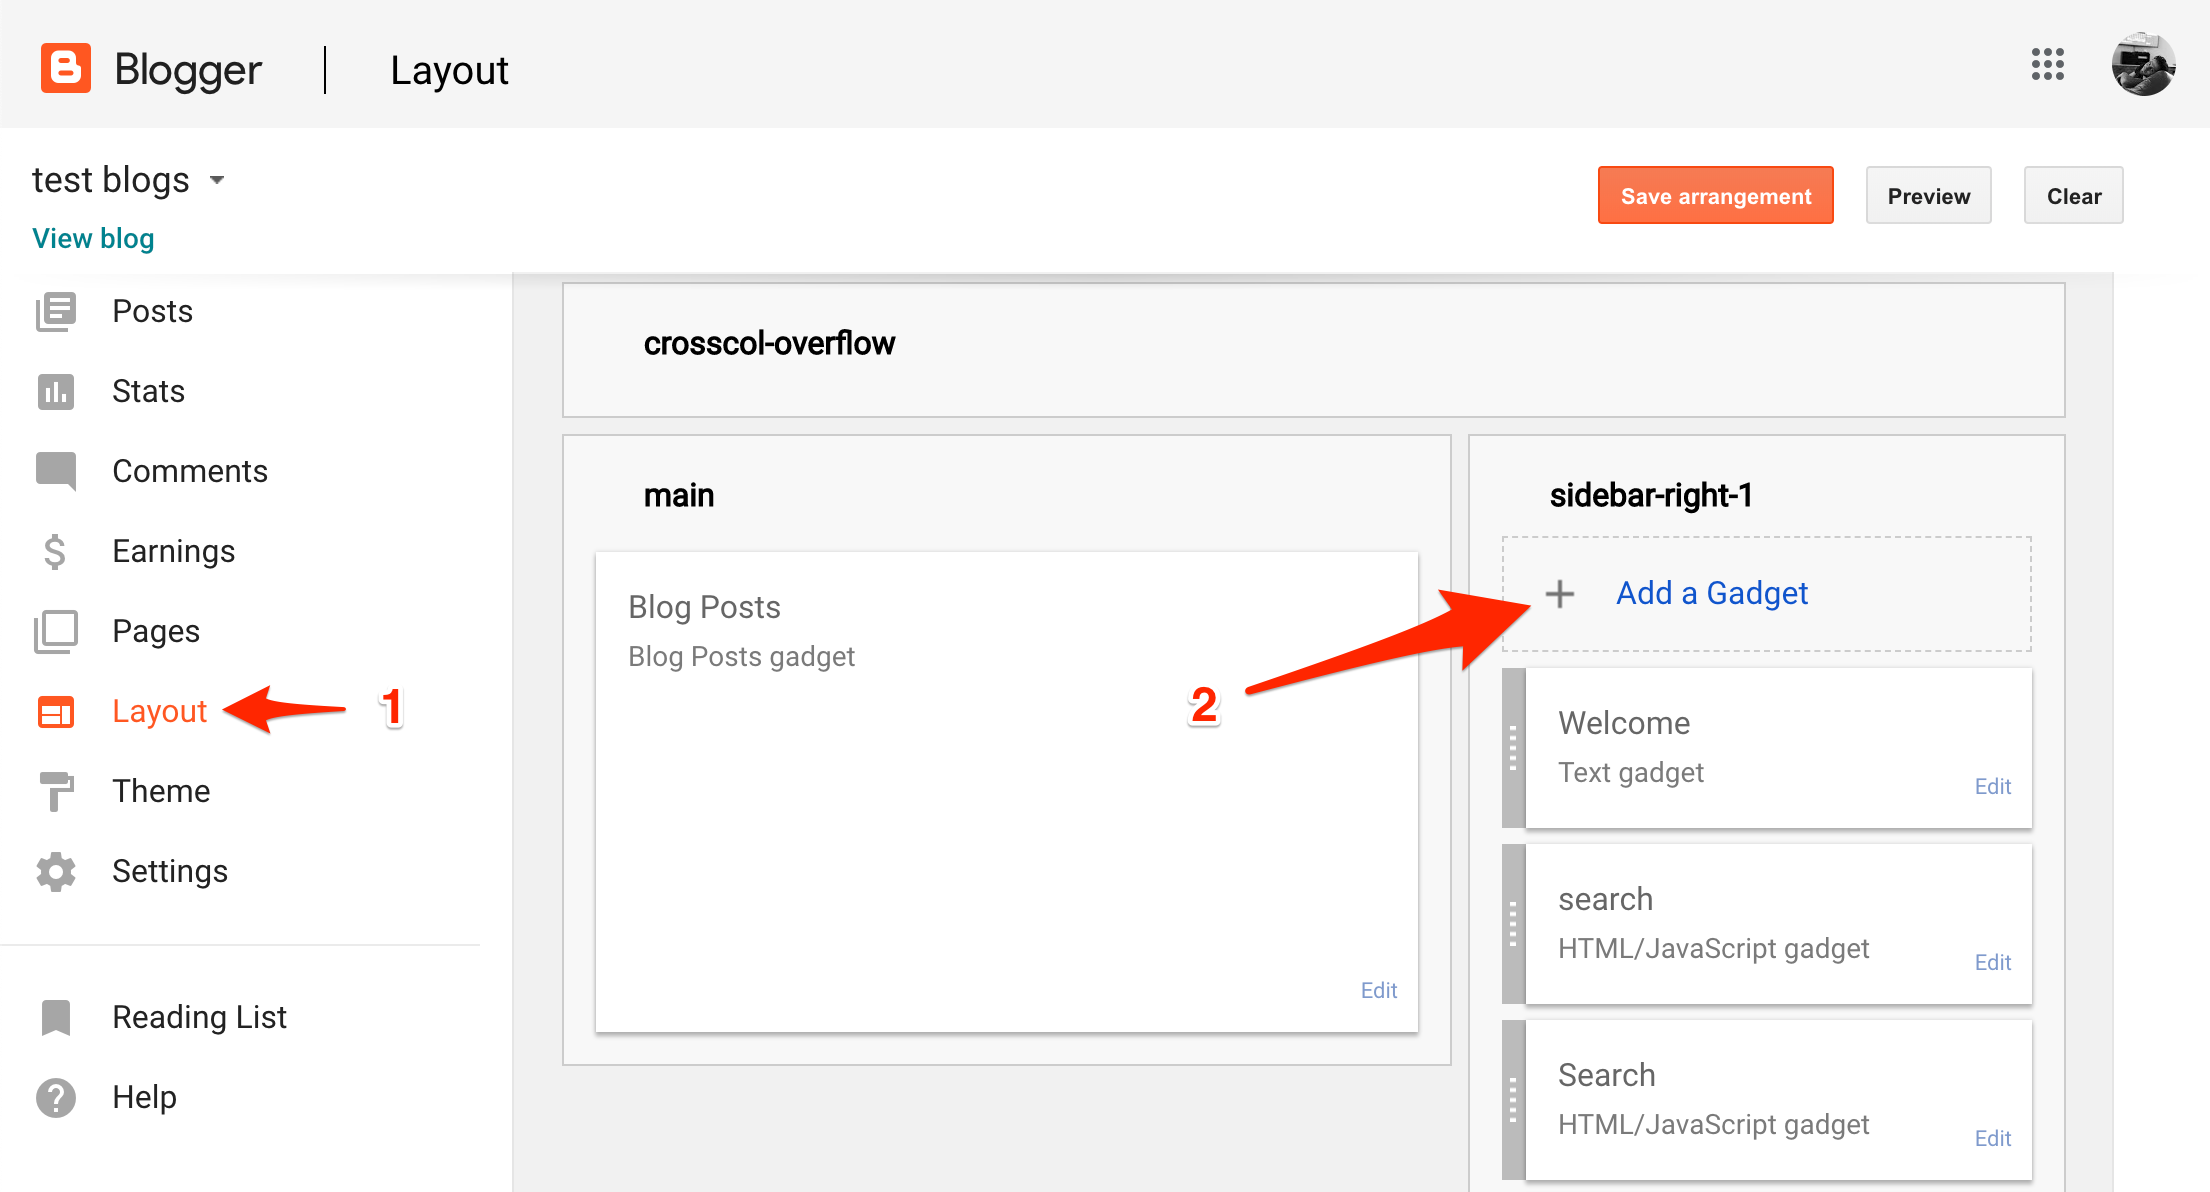
2. Click on Layout icon and choose Add a Gadget option in a certain field.
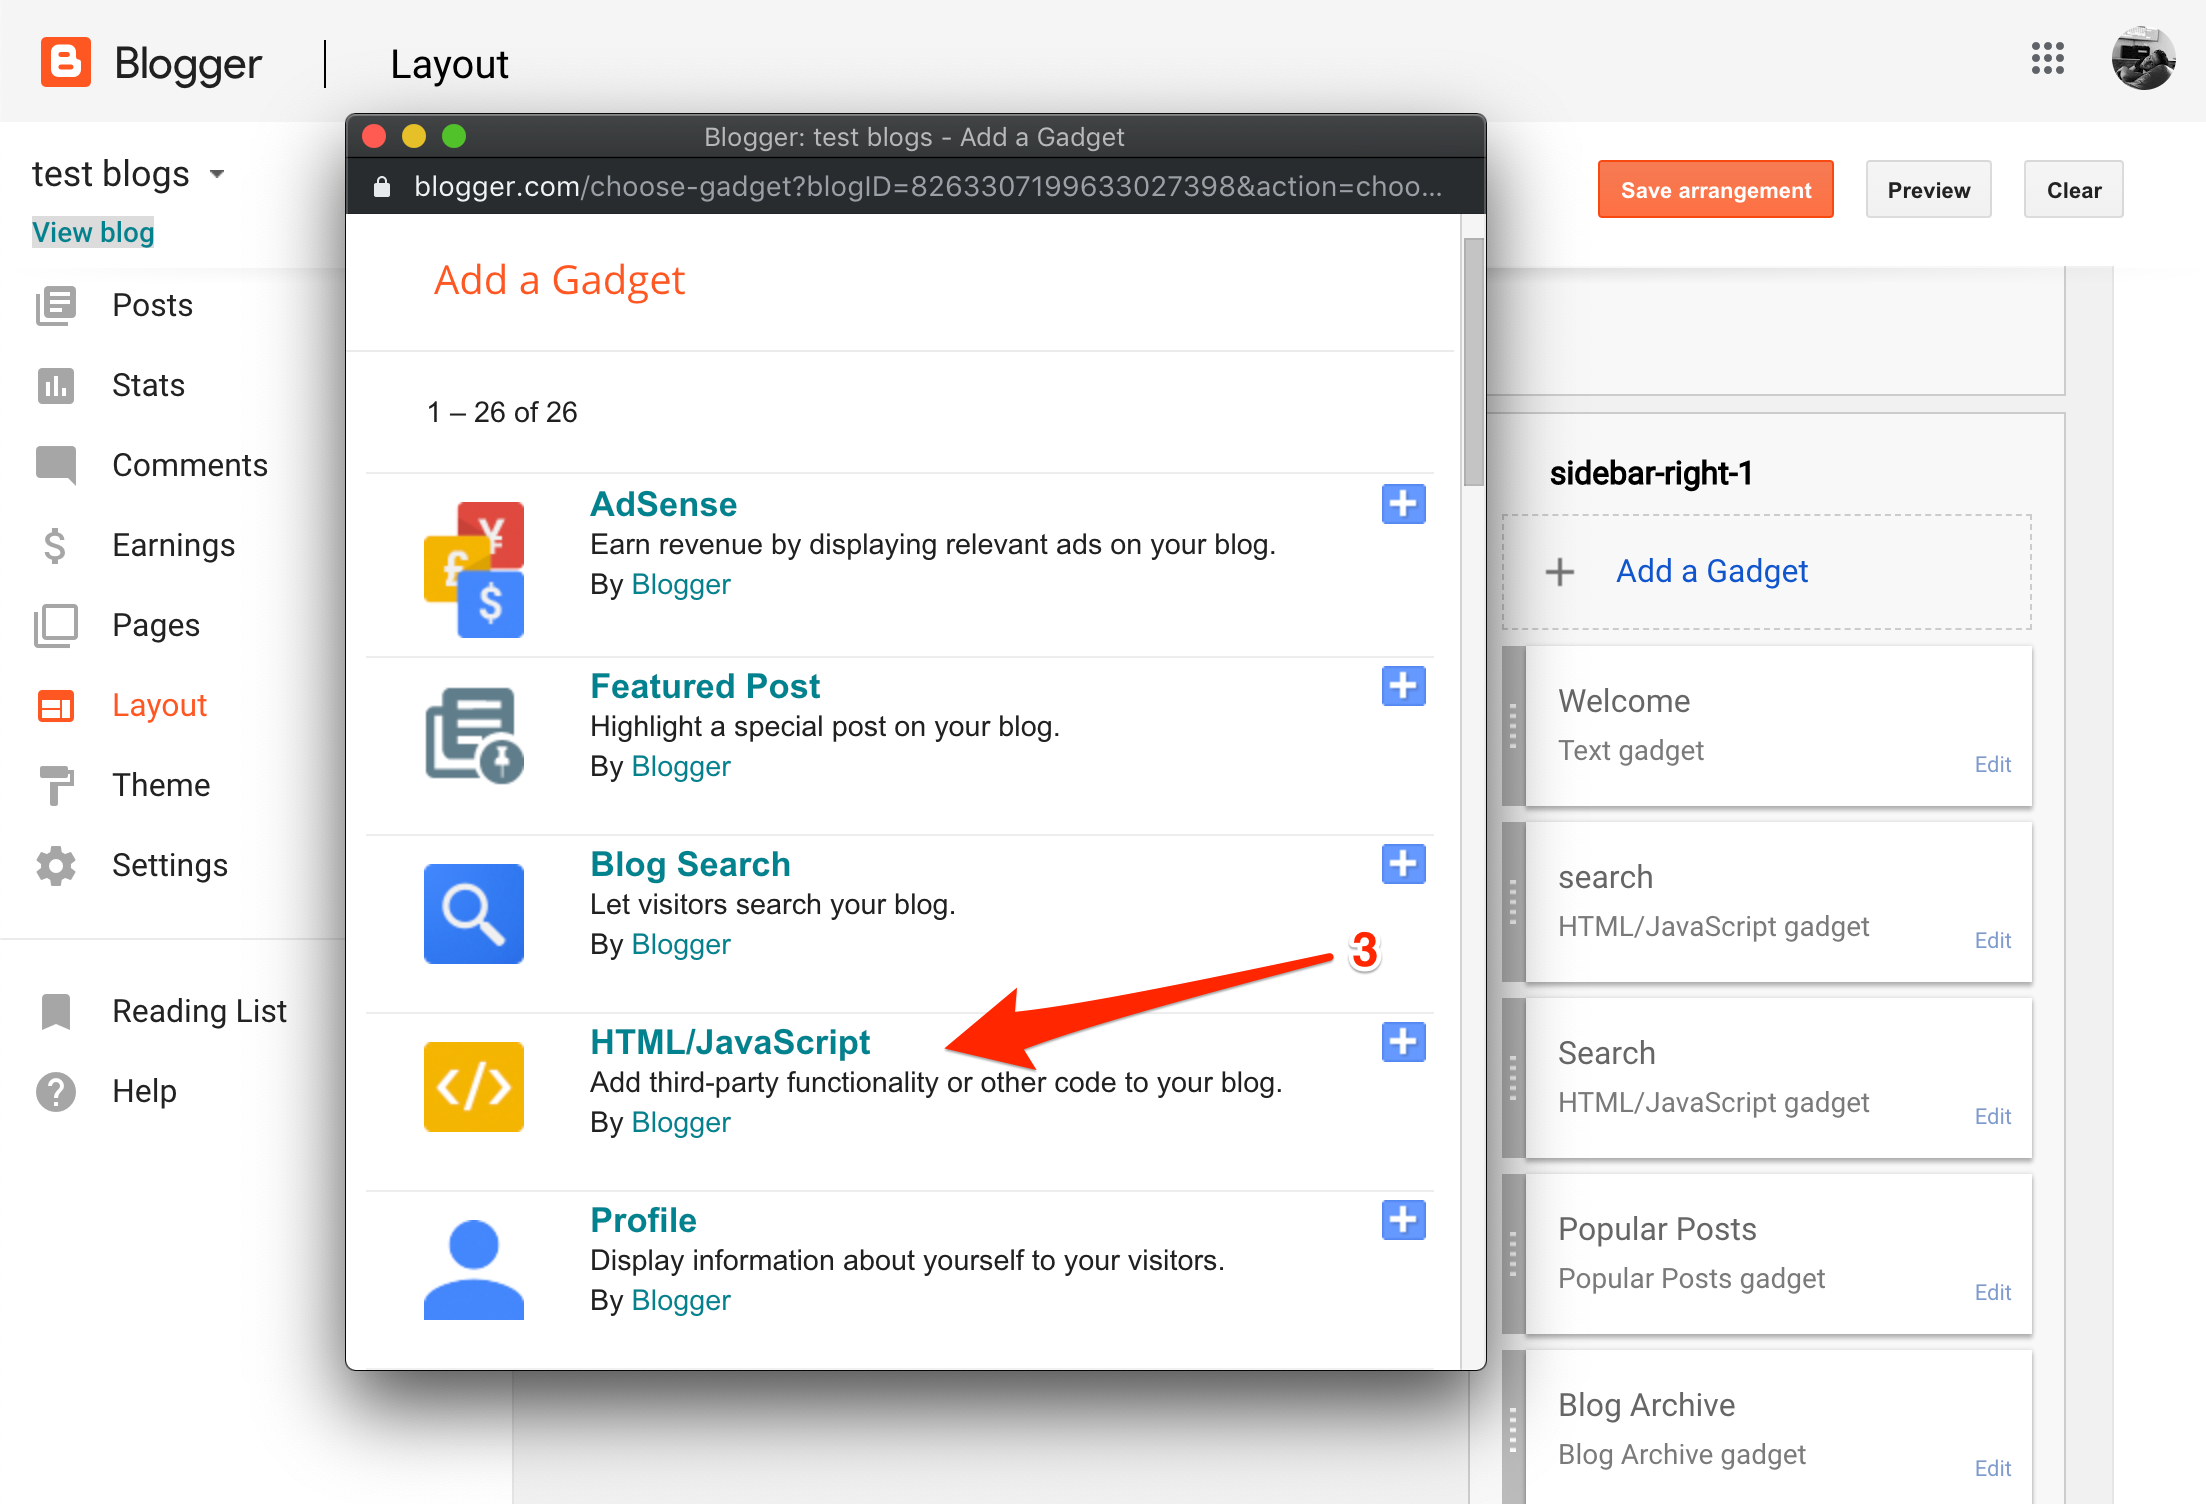
3. Then, in the bottom left side, you will see HTML/JavaScript. Click on it.
4. Now you are ready to configure HTML/JavaScript. In the Content field, paste the code.
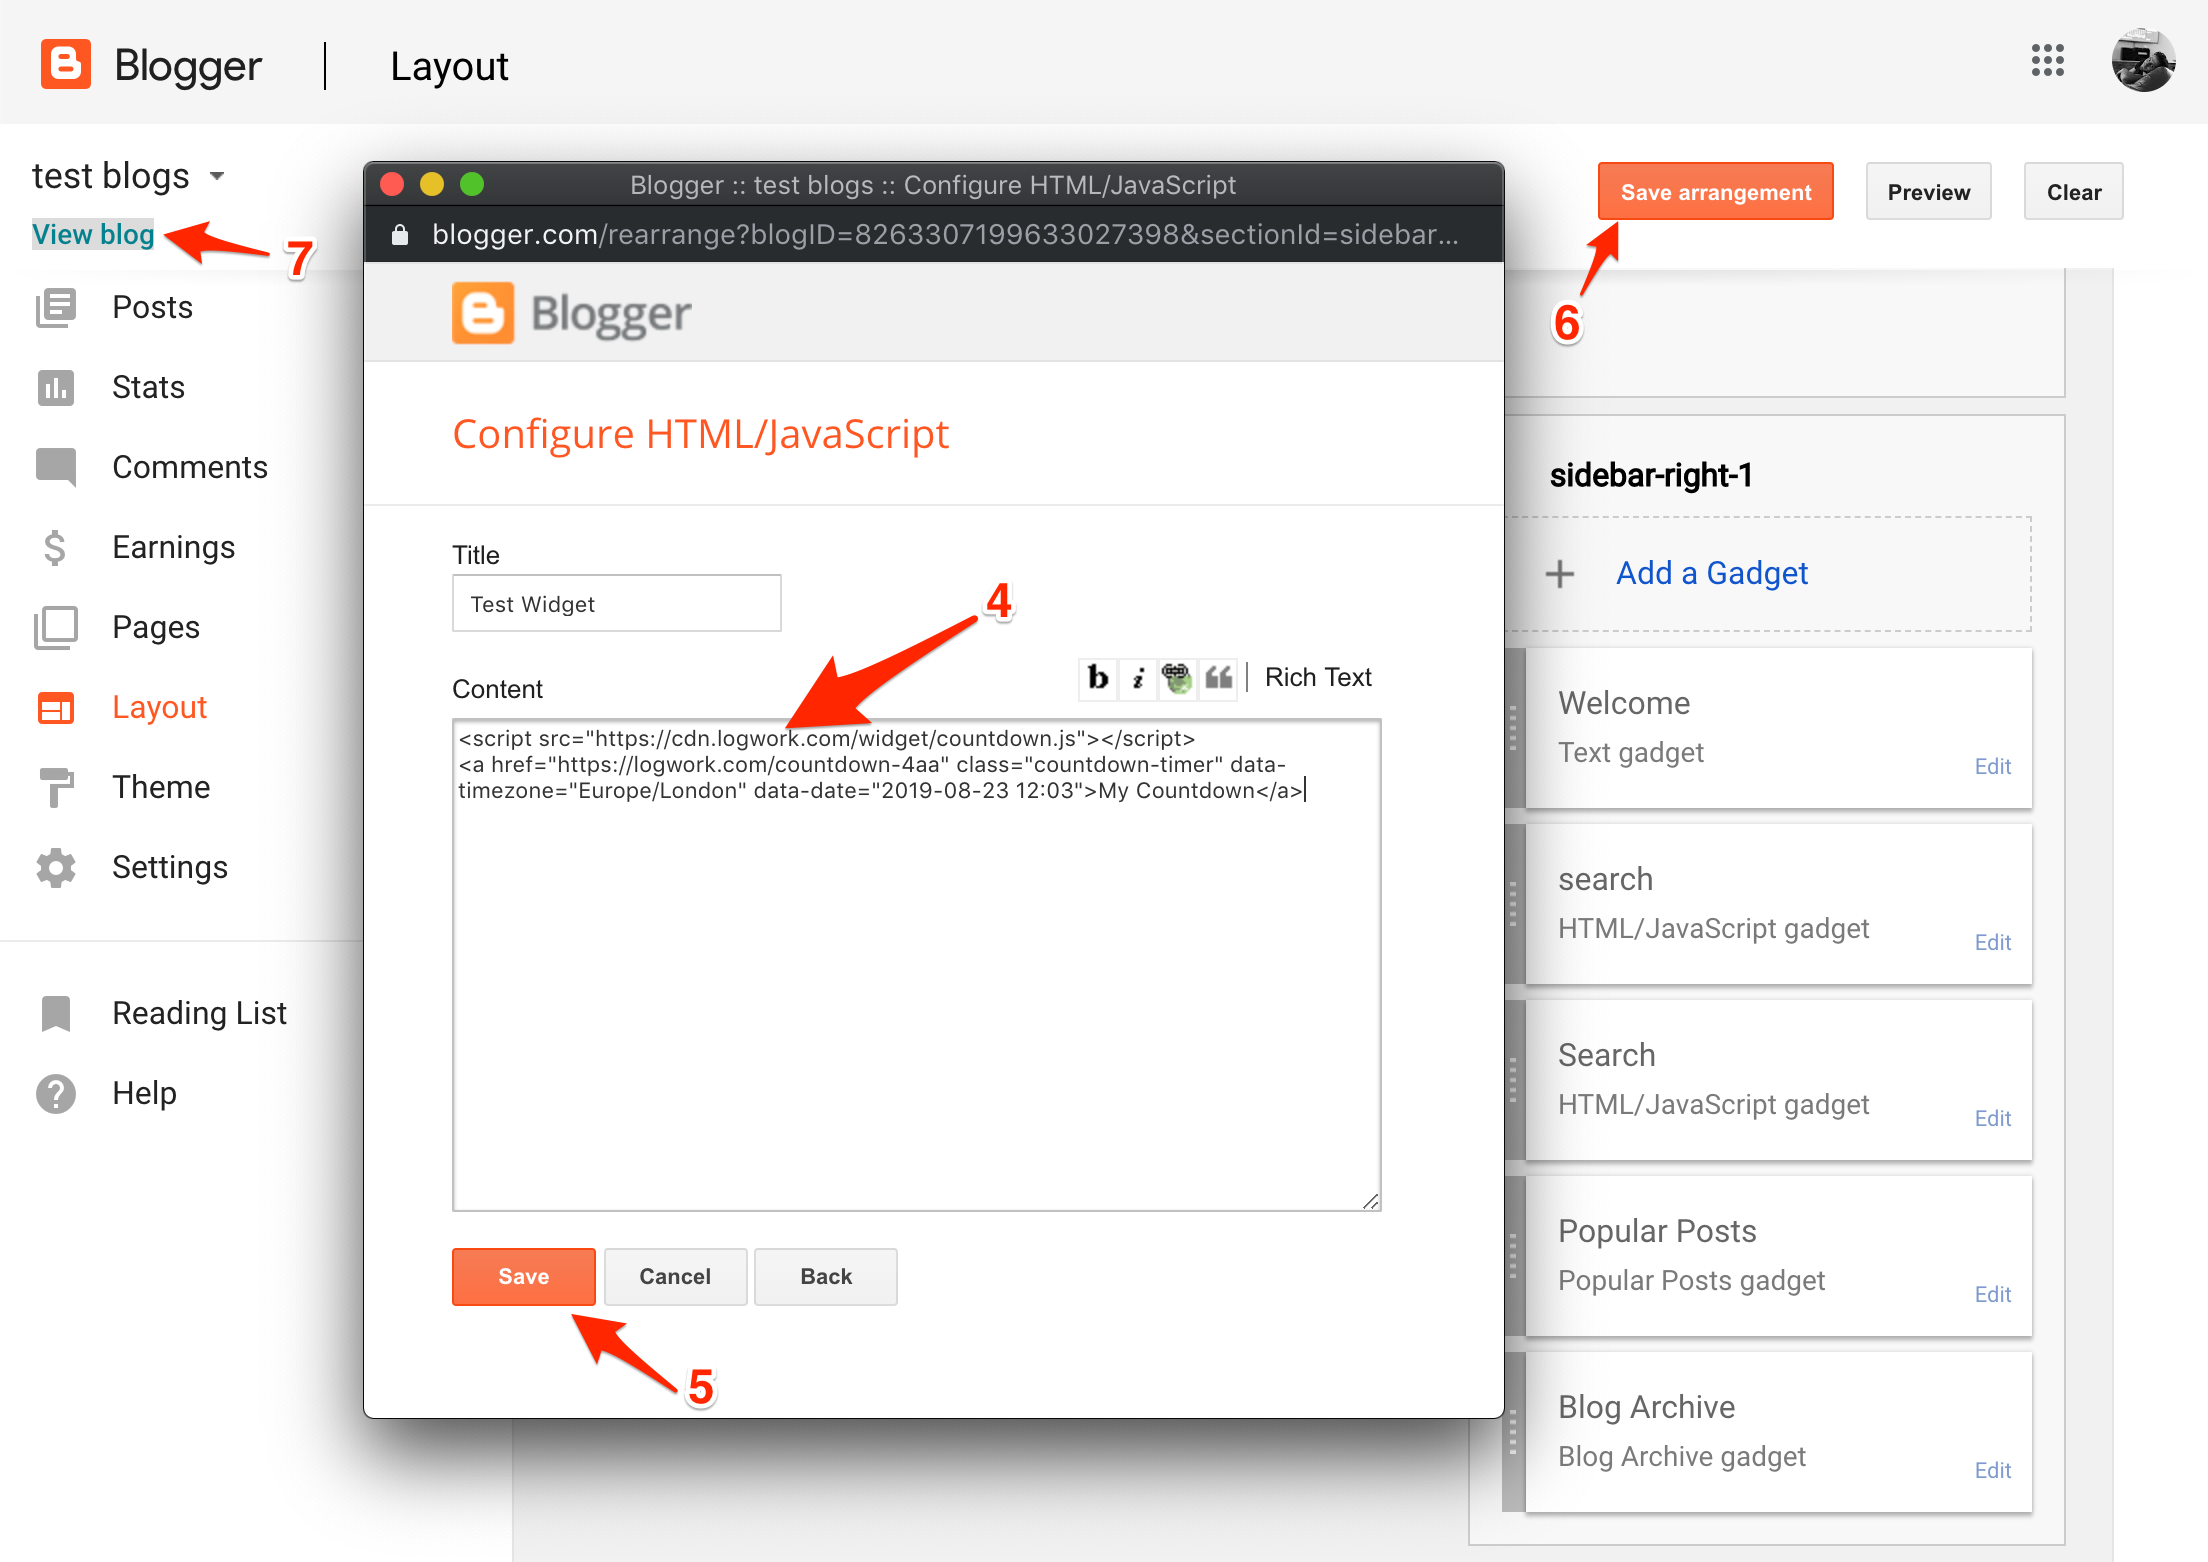
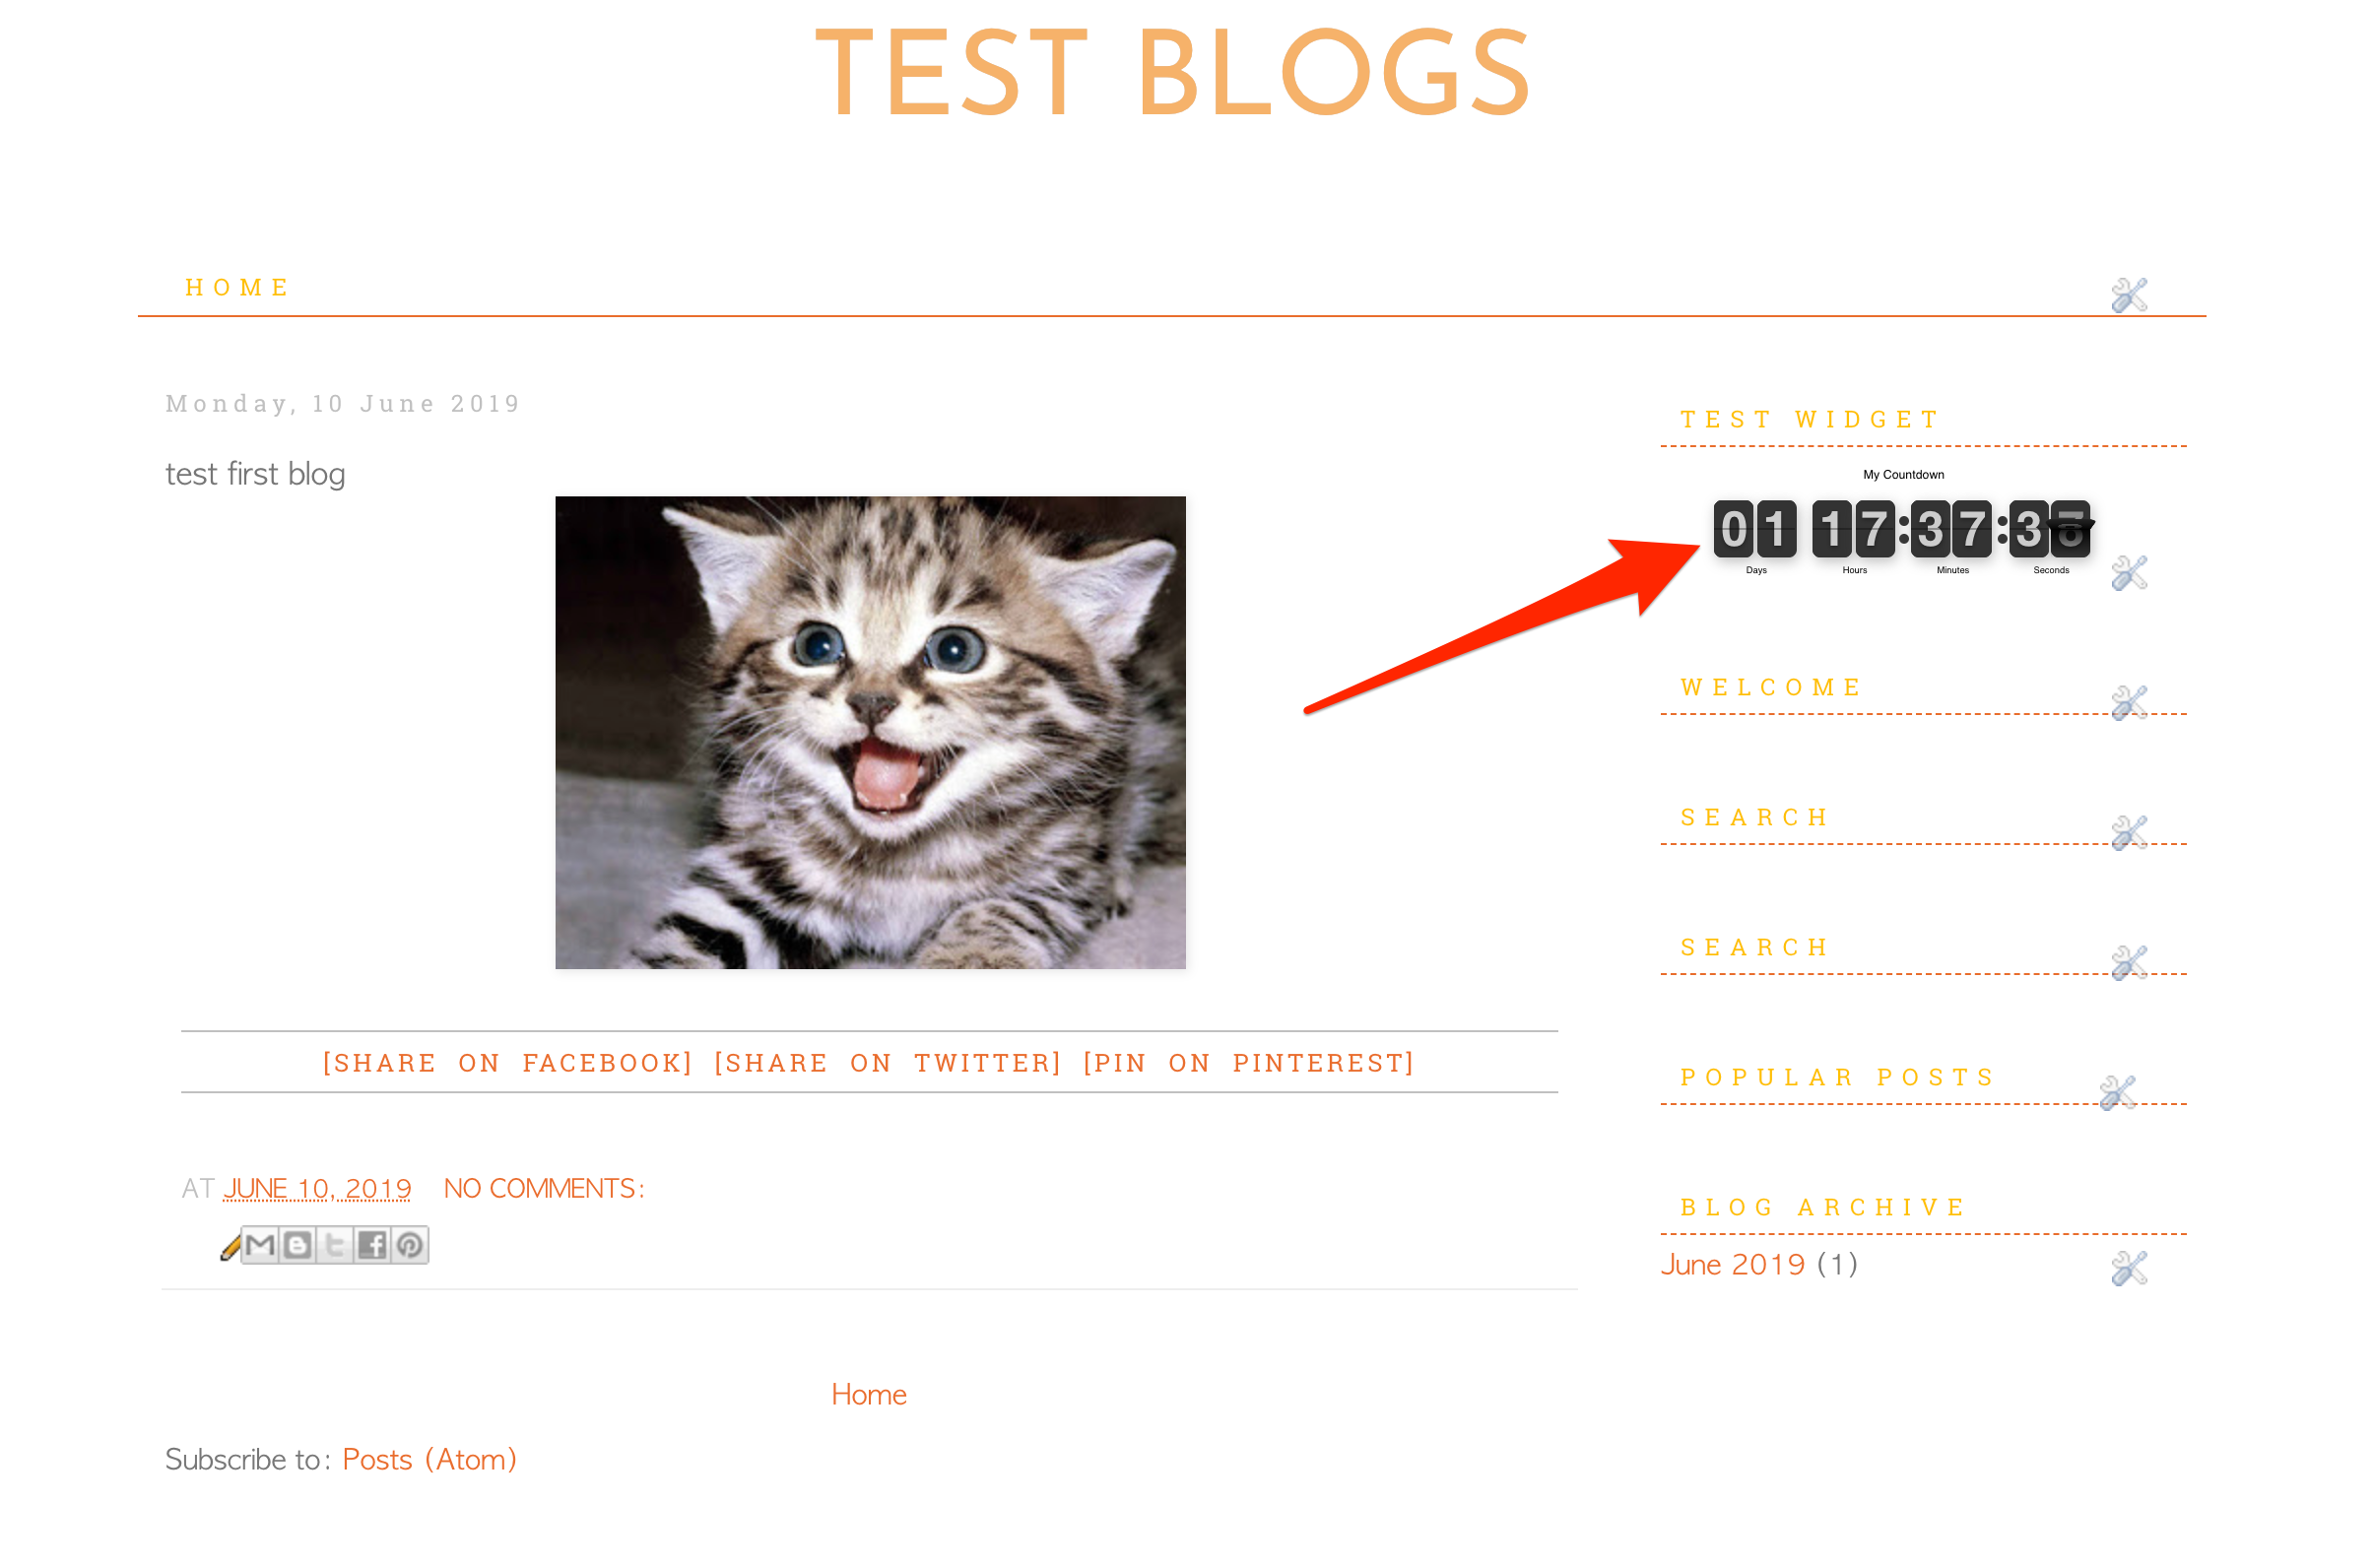
5. Save your deed and see what you’ve got!
NOTE Feel free to contact us in case you have any questions!
Now let’s see how you add it to a blog post.
1. Go to Countdown Timer Builder and copy the embedded code of the countdown timer. In case you haven’t set one yet, go and do this.
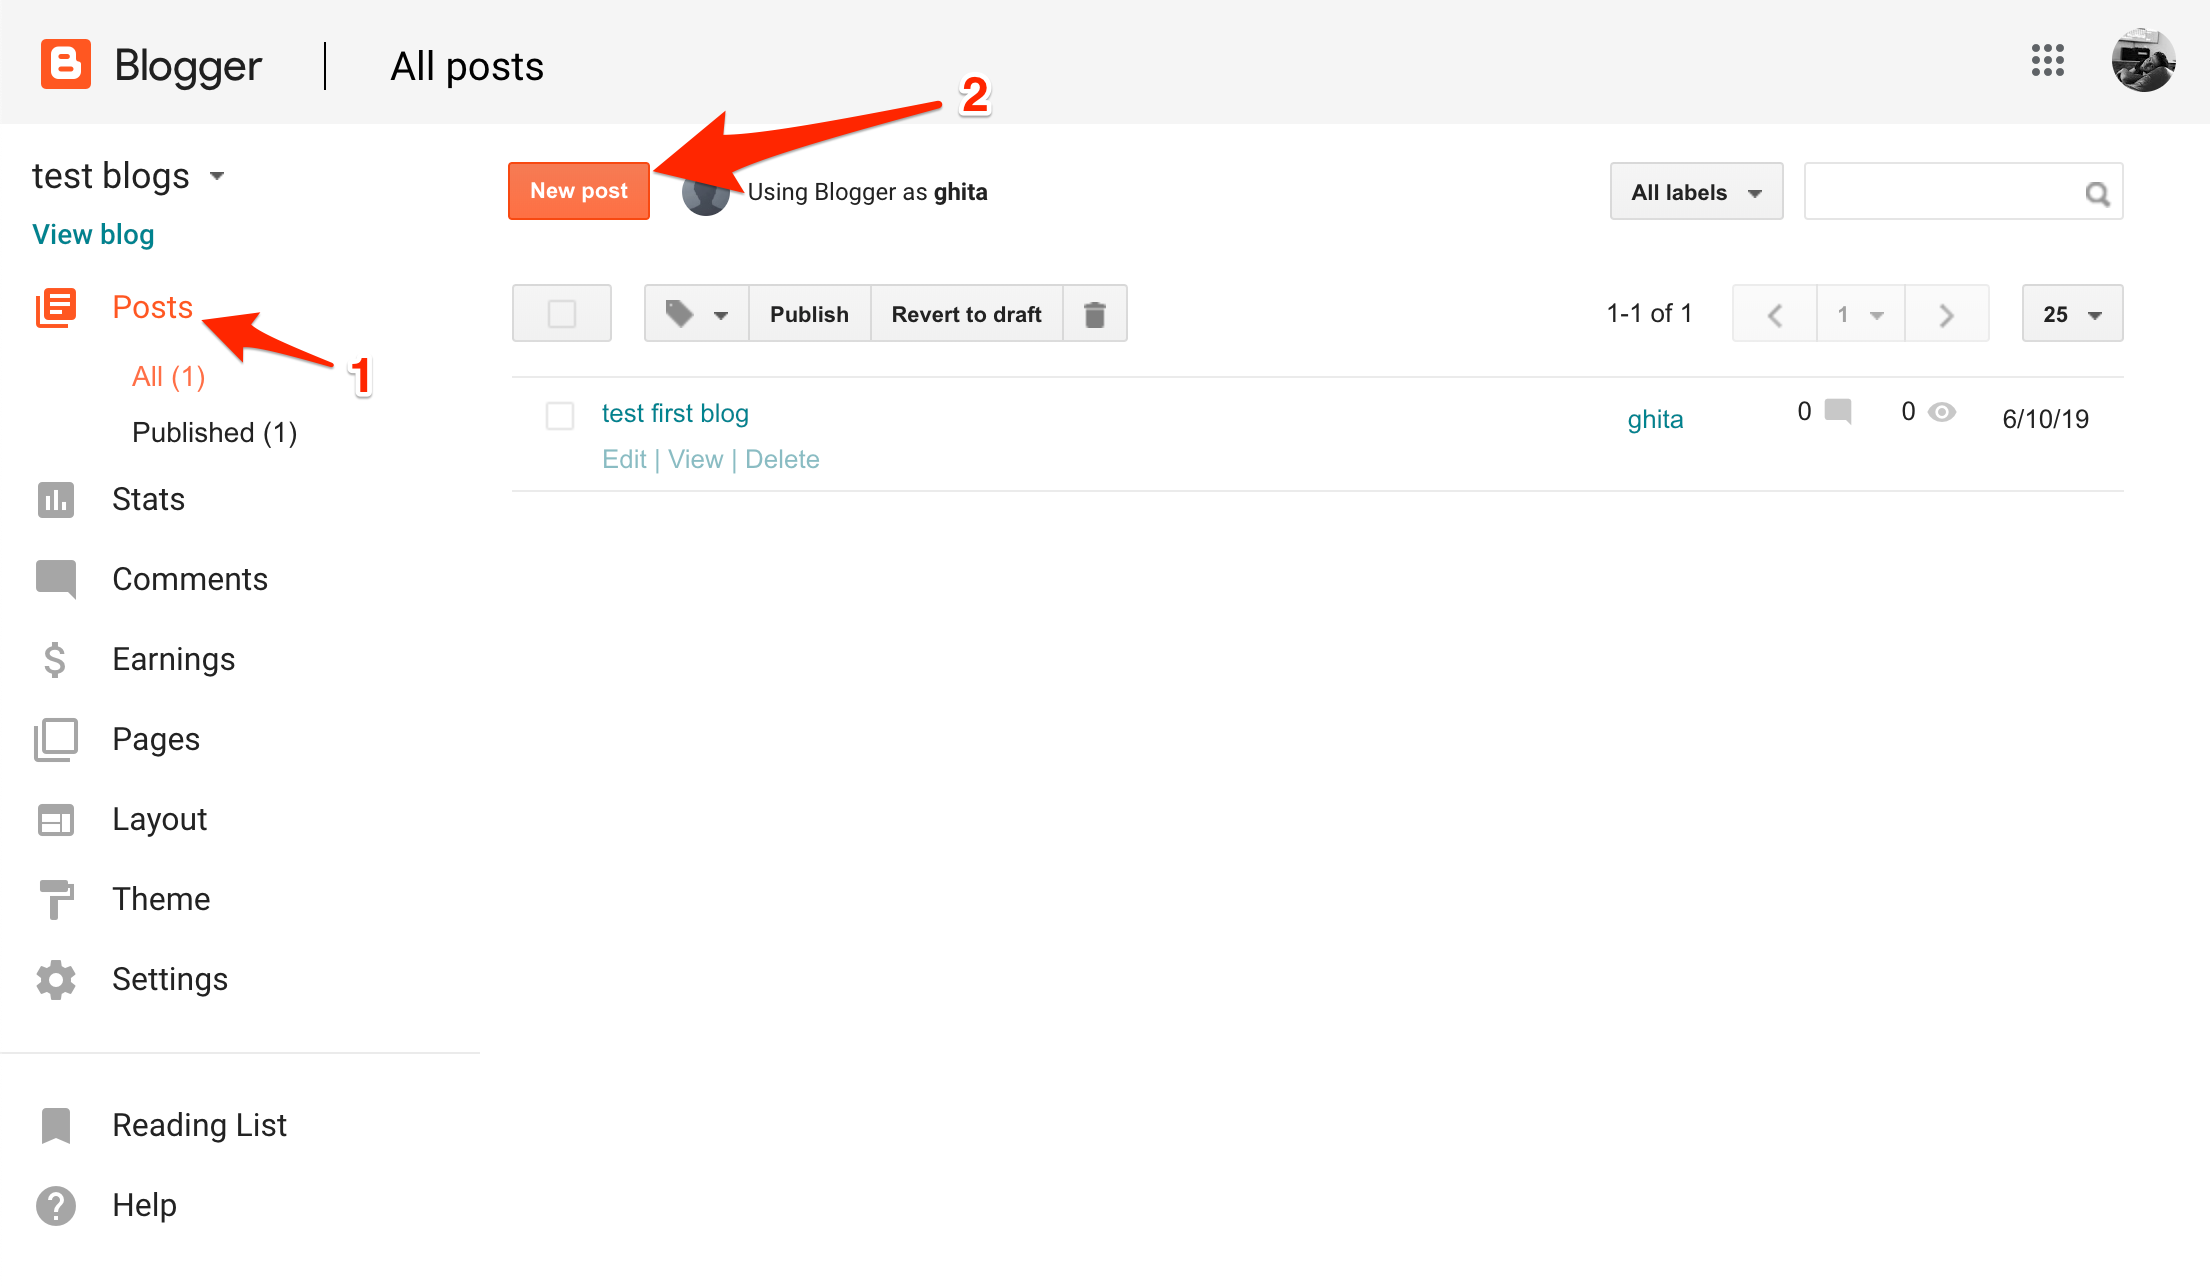
2. Click on Posts, New post.
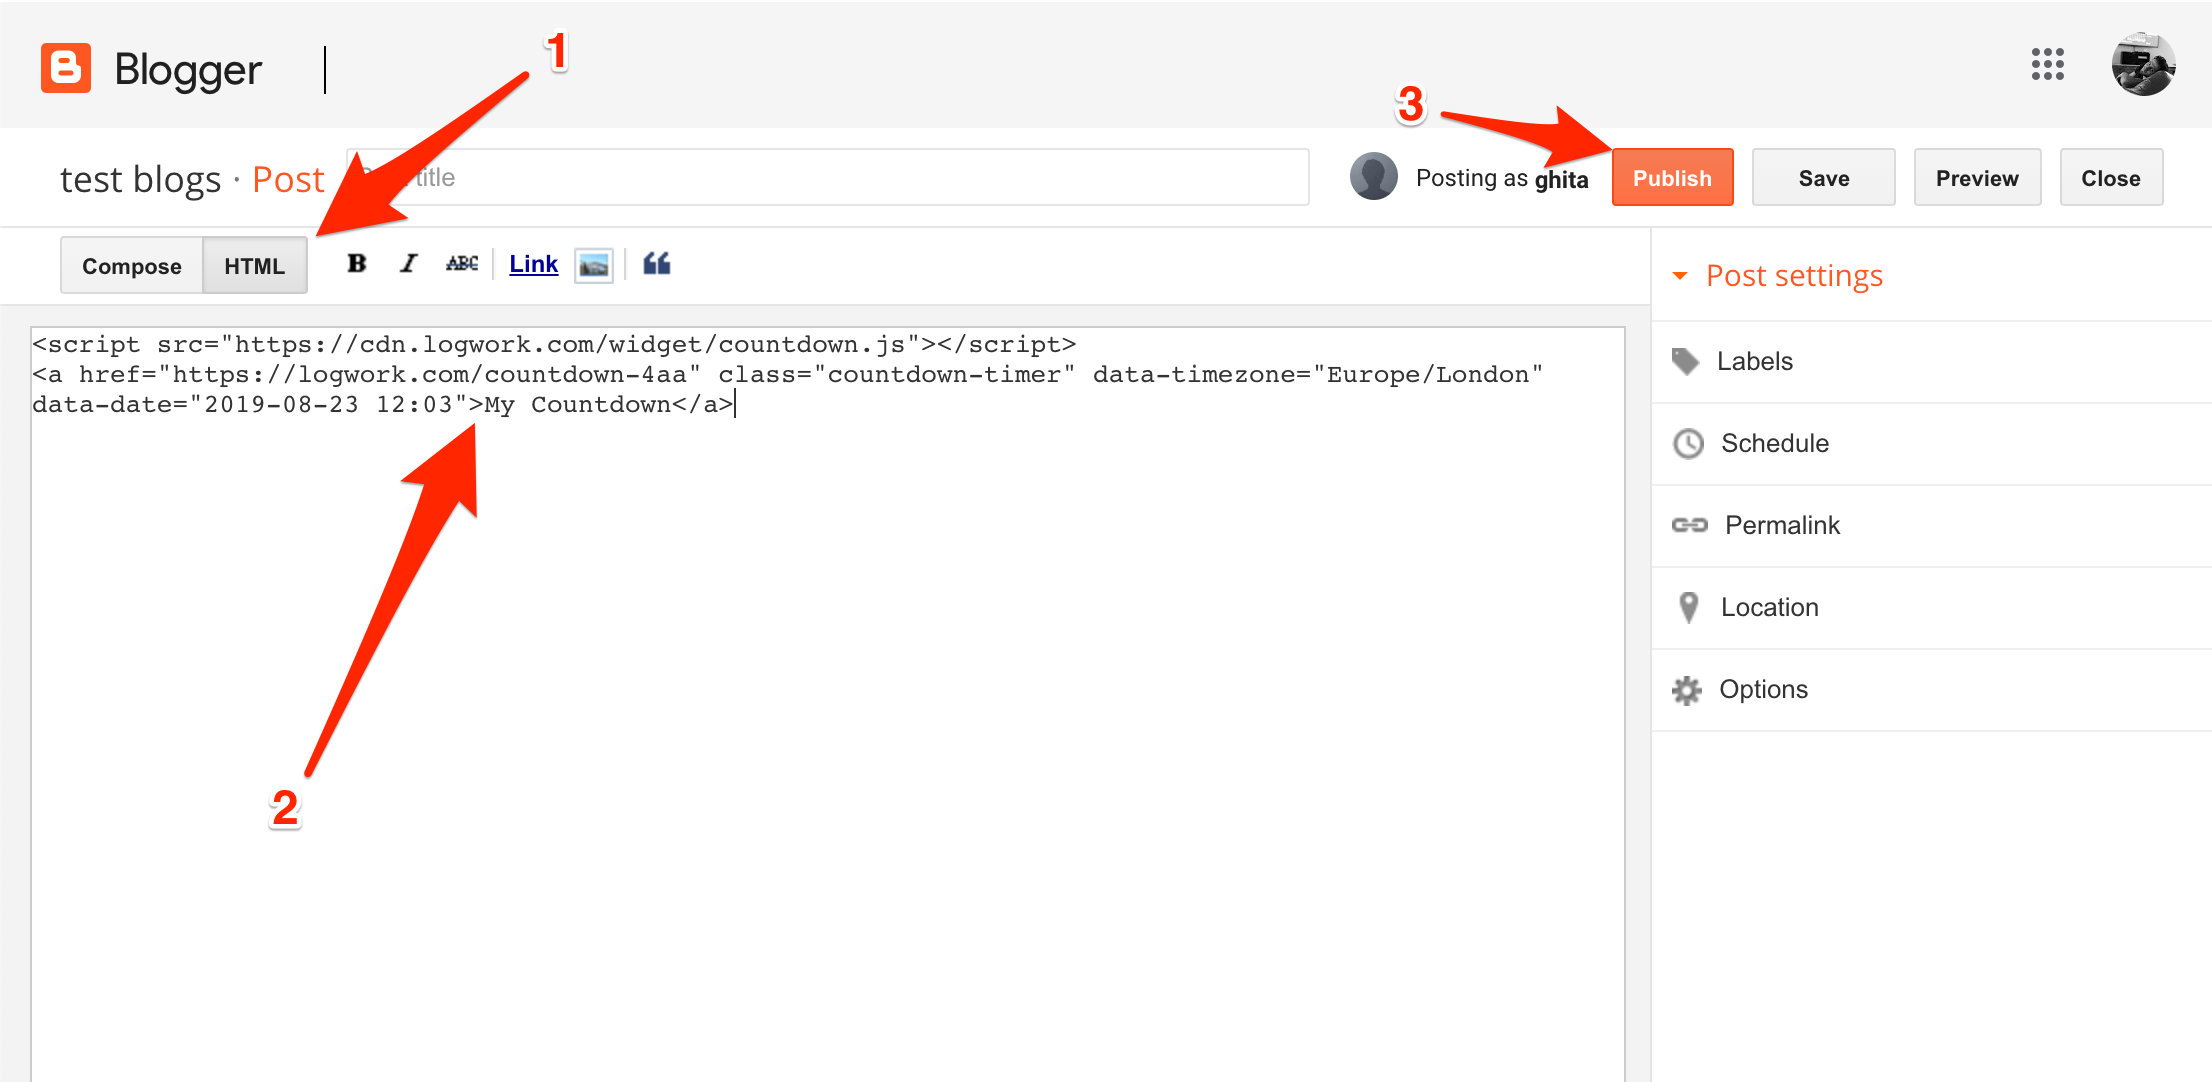
3. Click on HTML and add the Embedded code of the countdown clock. Save it.
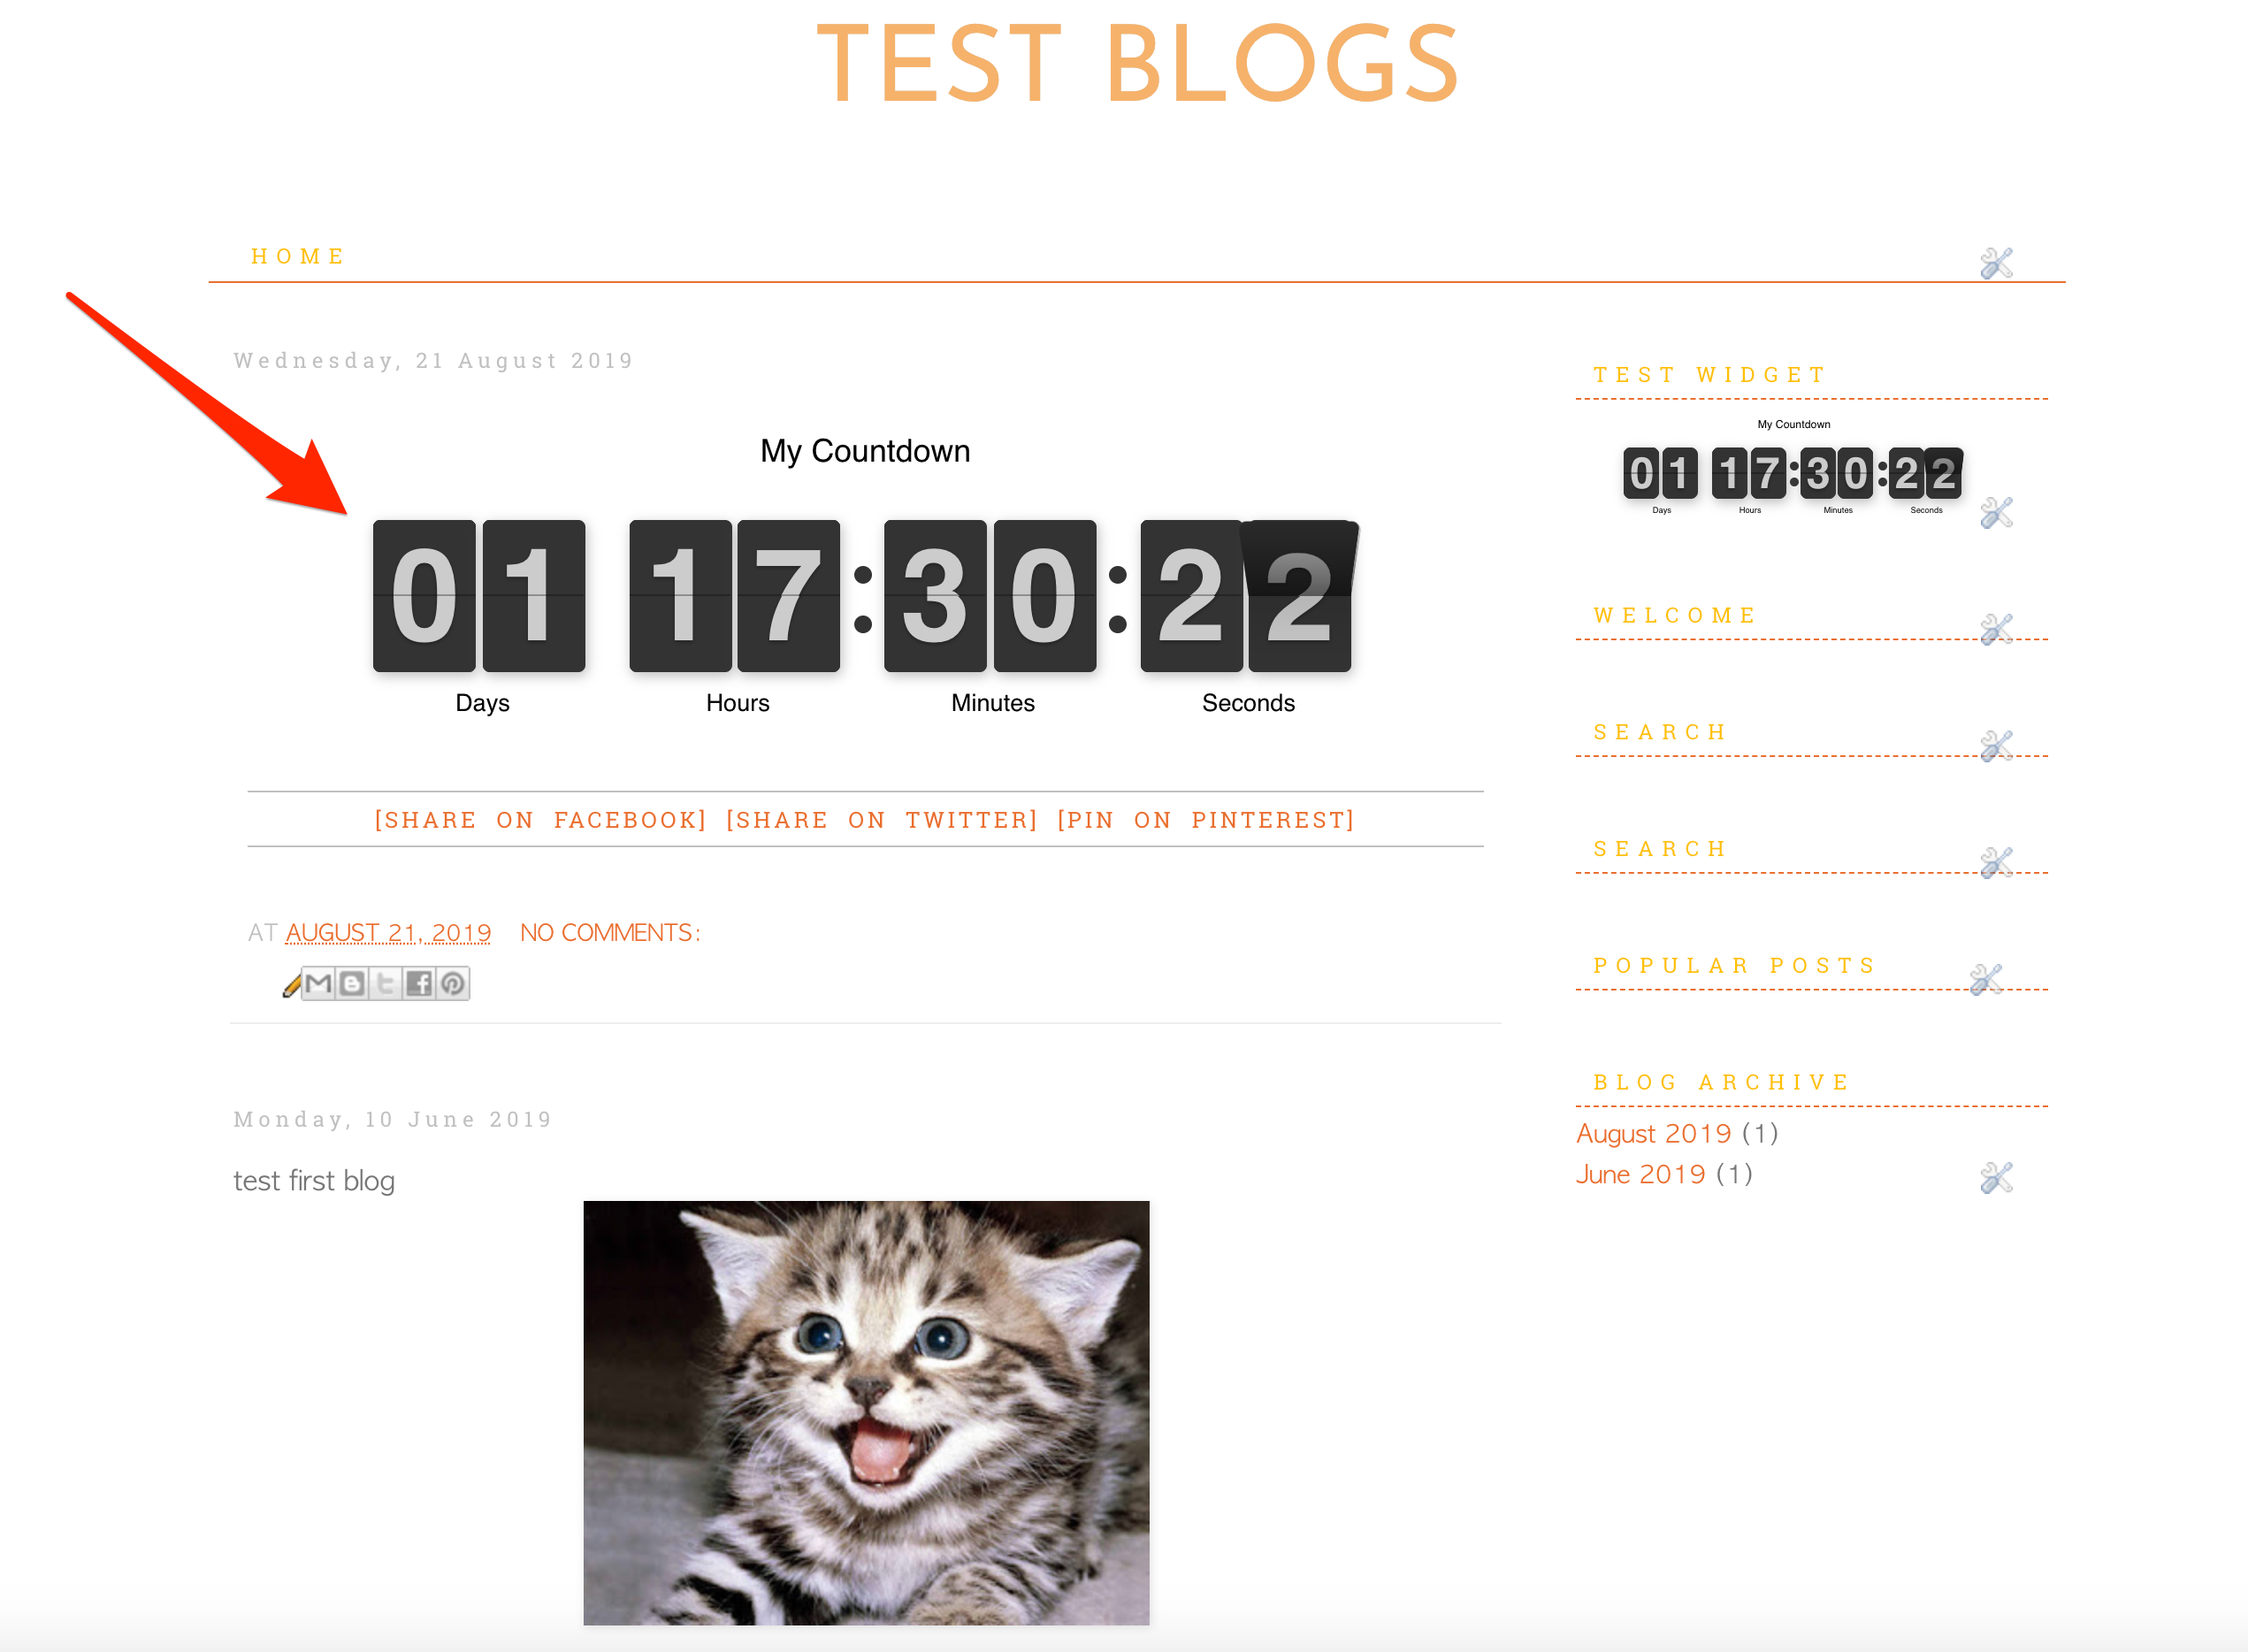
3. Refresh the page to see your changes.
NOTE Feel free to contact us in case you have any questions!


